The Honeywell VisionPro 8000 is a touchscreen, 7-day programmable thermostat offering advanced features like Wi-Fi connectivity and energy-saving modes. Designed for residential and commercial use, it provides a user-friendly interface for precise temperature control and compatibility with various HVAC systems.
1.1 Overview of the VisionPro 8000 Series
The Honeywell VisionPro 8000 Series is a line of advanced, touchscreen programmable thermostats designed for both residential and commercial applications. This series includes models such as the TH8110U and TH8320U, offering a range of features like 7-day programming, Wi-Fi connectivity, and compatibility with various HVAC systems. The VisionPro 8000 Series is known for its user-friendly interface, which simplifies temperature control and energy management. These thermostats are part of Honeywell’s commitment to innovative home comfort solutions, providing precise temperature regulation and energy efficiency. The series is supported by detailed installation manuals, ensuring proper setup and operation for optimal performance.
1.2 Key Features and Benefits
The Honeywell VisionPro 8000 Series offers a range of innovative features, including a high-resolution touchscreen interface, 7-day programmable scheduling, and Wi-Fi connectivity for remote access. It supports energy-saving modes, geofencing, and smart recovery, which optimize heating and cooling efficiency. The thermostat is compatible with multiple HVAC systems, including heat pumps and dual-fuel systems, and can integrate with optional wireless sensors for enhanced temperature control. Its advanced features help reduce energy consumption while maintaining comfort. The VisionPro 8000 also includes a lockout feature to prevent unauthorized changes and is backed by Honeywell’s reputation for reliability and performance, making it a versatile and efficient choice for modern homes and businesses.
System Requirements and Compatibility
The Honeywell VisionPro 8000 is compatible with most HVAC systems, including heat pumps and dual-fuel setups, and requires a stable Wi-Fi connection for smart features.

2.1 Compatible HVAC Systems
The Honeywell VisionPro 8000 thermostat is designed to work with a wide range of HVAC systems, ensuring versatility for various residential and commercial setups. It is compatible with traditional gas, oil, and electric heating and cooling systems, as well as heat pumps and dual-fuel configurations. The thermostat also supports multi-stage heating and cooling systems, allowing for precise temperature control in complex setups. Additionally, it can integrate with humidity control systems and ventilation equipment, making it a comprehensive solution for modern HVAC needs. This broad compatibility ensures that the VisionPro 8000 can be installed in diverse environments, providing reliable performance and energy efficiency.
2.2 Technical Specifications
The Honeywell VisionPro 8000 thermostat features a high-resolution touchscreen display with an intuitive interface. It operates on 24V AC and is compatible with a wide range of HVAC systems, including single-stage, multi-stage, and heat pump configurations. The thermostat supports up to 3 stages of heating and 2 stages of cooling, ensuring precise temperature control. It also includes Wi-Fi connectivity for remote access and smart home integration. The device measures 4.5 inches in height and 2;75 inches in width, making it a compact yet functional addition to any space. With a voltage range of 20V AC to 30V AC, it is designed for reliable performance in various environments. Additional features include humidity control, energy usage tracking, and compatibility with optional remote sensors for enhanced comfort and efficiency.

Pre-Installation Steps
Begin by unpacking and inventorying all components, ensuring no damage. Prepare the site by clearing the area and removing the old thermostat. Gather all necessary tools and materials for a smooth installation process.
3.1 Unpacking and Inventory
Begin by carefully unpacking the Honeywell VisionPro 8000 thermostat and all included components. Ensure the package contains the thermostat unit, mounting hardware, wiring labels, and user manual. Inspect for any visible damage or missing items. Verify the thermostat model matches your HVAC system requirements. Organize the components to avoid misplacement. Review the manual to familiarize yourself with the parts and their purposes. Check for any accessories, such as optional sensors or adapters, if applicable. Ensure all items are accounted for before proceeding to site preparation. This step ensures a smooth installation process and prevents delays due to missing or damaged parts.
3.2 Site Preparation
Before installing the Honeywell VisionPro 8000 thermostat, prepare the installation site. Choose a location with stable temperature reading, avoiding direct sunlight or drafts. Ensure the wall is sturdy and level, and verify compatibility with your HVAC system. Turn off the power to the HVAC system at the circuit breaker. Remove the old thermostat and label the wires for identification. Clean the area around the mounting location to ensure proper adhesion of the thermostat. Gather all necessary tools and materials, such as a screwdriver and mounting hardware. Double-check that the system is powered off to prevent electrical hazards. Proper site preparation ensures a safe and efficient installation process.
3.3 Tools and Materials Needed
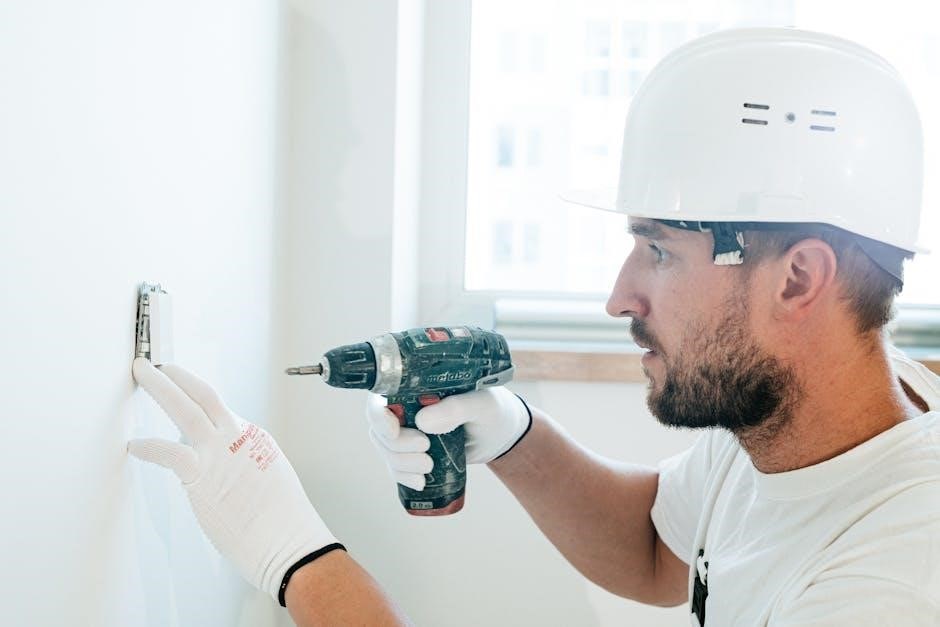
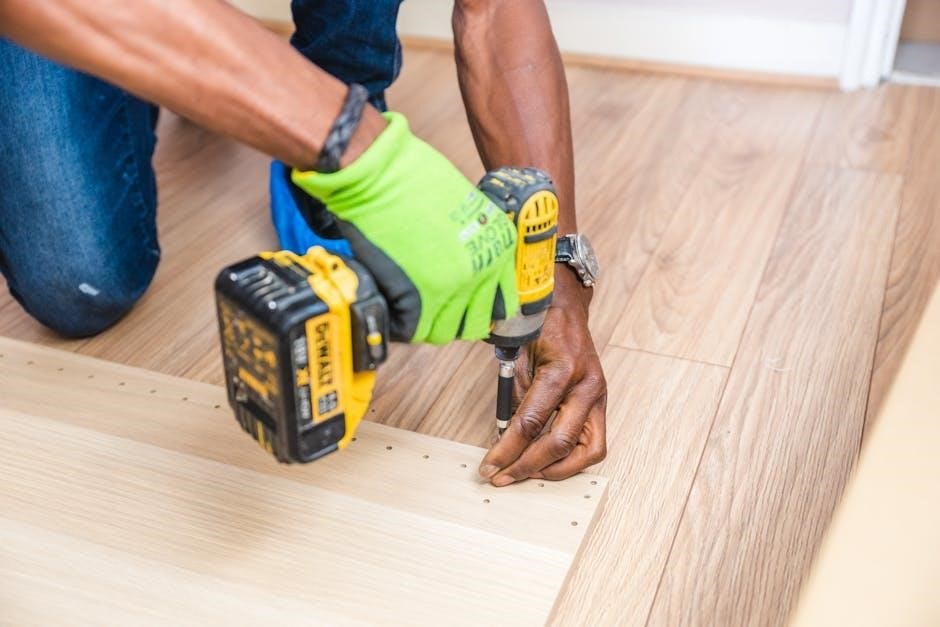
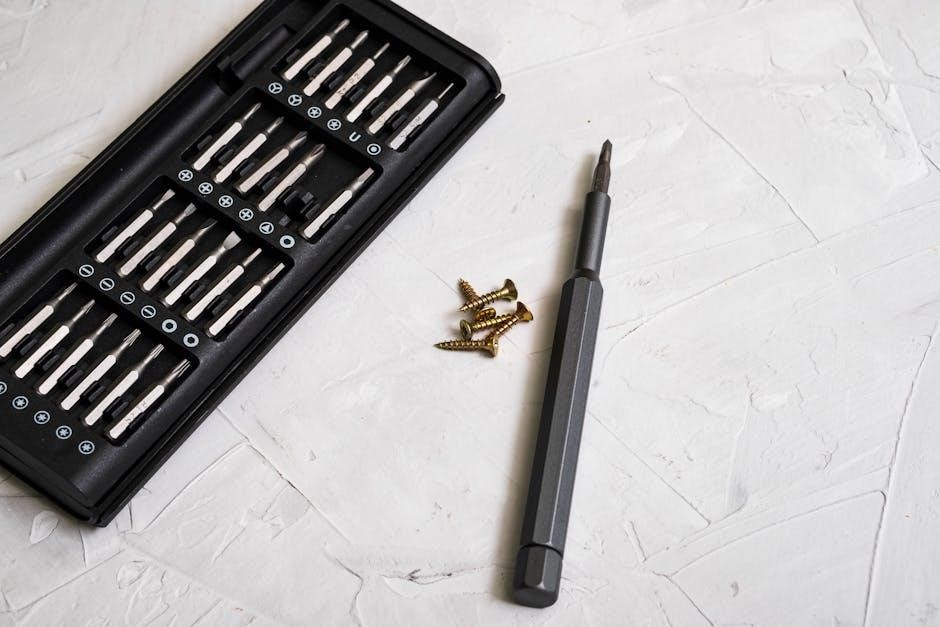
To install the Honeywell VisionPro 8000 thermostat, gather the necessary tools and materials. You will need a screwdriver (both flathead and Phillips), wire strippers, and a drill with bits for wall mounting. Ensure you have the mounting hardware provided with the thermostat, such as screws and wall anchors. A voltage tester is recommended to verify power is off before wiring. Label the existing wires with the provided wire labels to simplify the connection process. Additionally, a level tool will help ensure the thermostat is mounted straight. Having all tools and materials ready will streamline the installation process and prevent delays. Proper preparation is key to a successful setup.

Installation Process
The Honeywell VisionPro 8000 installation involves mounting the thermostat, wiring it to your HVAC system, and completing the initial setup. Follow the step-by-step guide carefully.
4.1 Mounting the Thermostat
Mounting the Honeywell VisionPro 8000 thermostat begins with unpacking and inventorying all components. Ensure the site is prepared, with the old thermostat removed and wires labeled. Use the provided wallplate and screws to secure it to the wall. A drill and level are essential for proper alignment. Gently attach the thermostat to the wallplate, ensuring it clicks securely. Refer to the manual for specific mounting hole measurements. Once mounted, double-check the alignment and stability. This step is crucial for proper functionality and aesthetic installation. Follow the guide carefully to avoid damaging the device or surrounding area.
4.2 Wiring the Thermostat
Wiring the Honeywell VisionPro 8000 thermostat requires careful attention to ensure proper functionality. Begin by turning off the power to the HVAC system at the circuit breaker. Remove the old thermostat and label the wires according to their terminals (R, W, Y, G, C, etc.). Refer to the wiring chart in the installation manual to match the wires to the correct terminals on the VisionPro 8000. Securely connect each wire to the appropriate terminal, ensuring no loose connections. Double-check the wiring configuration to avoid errors. If unsure, consult the manual or contact a professional. Proper wiring is critical for the thermostat to control the HVAC system effectively.
4.3 Initial Setup and Configuration
After wiring, power on the thermostat and follow the on-screen prompts. Select your HVAC system type (e.g., heat pump, gas furnace) and configure basic settings like temperature range and fan operation. Set your preferred schedule, choosing from pre-programmed options or customizing a 7-day plan. Ensure the date and time are correct for accurate scheduling. If Wi-Fi enabled, connect to your network for remote access. Refer to the manual for advanced features like geofencing or energy-saving modes. Proper configuration ensures optimal performance and energy efficiency. Double-check all settings before finalizing to avoid operational issues.
Configuring Thermostat Settings
The Honeywell VisionPro 8000 allows users to easily configure temperature settings, 7-day schedules, and system preferences through its touchscreen interface, ensuring personalized comfort and energy efficiency.
5.1 Basic Configuration Options
The Honeywell VisionPro 8000 offers straightforward basic configuration options, including setting temperature ranges, scheduling, and system mode selection. Users can program a 7-day schedule with up to four periods per day, adjusting heating and cooling setpoints for energy efficiency. The touchscreen interface allows easy adjustments to fan settings, humidity control, and system operation modes such as heat, cool, or auto. Additionally, users can enable features like energy-saving modes and vacation settings to optimize performance. These configurations ensure a balance between comfort and energy savings, making it simple to tailor the thermostat to individual preferences and lifestyle needs.
5.2 Advanced Settings and Customization

The Honeywell VisionPro 8000 offers advanced settings for tailored comfort and efficiency. Users can customize geofencing, smart recovery, and humidity control, ensuring optimal performance. Installer settings, accessible via a password, allow technicians to fine-tune system parameters. Advanced features like energy usage reports and remote access through the Honeywell Home app enhance convenience. Customizable alerts for system issues and filter reminders improve maintenance. These settings provide precise control, adapting to specific needs and preferences, while maintaining energy efficiency and system reliability.
Troubleshooting Common Issues
Troubleshooting the Honeywell VisionPro 8000 involves addressing common issues like connectivity problems, wiring errors, or display malfunctions. Resetting the thermostat or checking wire connections often resolves these issues.
6.1 Common Installation Mistakes
Common installation mistakes with the Honeywell VisionPro 8000 include incorrect wiring connections, failure to follow the installation guide, and improper system configuration. Wiring errors are frequent, such as mismatched wires or loose connections, which can prevent proper functionality. Incorrect system selection is another issue, as the thermostat must be compatible with the HVAC system type. Additionally, not resetting the thermostat after installation can lead to operational problems. Ignoring the installation manual often results in misconfiguration of advanced features like Wi-Fi setup or programmable schedules. To avoid these mistakes, ensure all steps are followed carefully, and double-check wiring and system compatibility before finalizing the installation.
6.2 Resolving Connectivity Problems
Connectivity issues with the Honeywell VisionPro 8000 often arise during Wi-Fi setup or system integration. Wi-Fi connectivity problems can occur due to incorrect passwords, outdated firmware, or router incompatibility. Ensure the thermostat is connected to the correct network and the password is entered accurately. Resetting the thermostat or restarting the router may resolve temporary connectivity glitches. If issues persist, check for firmware updates and install the latest version. Additionally, verify that the thermostat is compatible with your HVAC system and that all wiring is correct. For persistent problems, consult the installation manual or contact Honeywell support for assistance. Proper troubleshooting ensures seamless operation and connectivity.
Maintenance and Upkeep
Regularly clean the Honeywell VisionPro 8000 to prevent dust buildup. Check for firmware updates to ensure optimal performance. Secure all wiring connections to maintain reliability.
7.1 Cleaning the Thermostat
Cleaning the Honeywell VisionPro 8000 thermostat is essential for maintaining its performance. Power off the device before cleaning to avoid damage. Use a soft, dry cloth to wipe the touchscreen and exterior surfaces. Avoid harsh chemicals or abrasive materials, as they may damage the display. For stubborn marks, lightly dampen the cloth with water, but ensure no moisture seeps into the thermostat. Regular cleaning prevents dust buildup, ensuring accurate temperature readings and smooth touchscreen functionality. Refer to the installation manual for detailed cleaning instructions. Proper maintenance ensures long-term reliability and optimal operation of the thermostat.
7.2 Updating Software and Firmware
Regular software and firmware updates are crucial for optimal performance of the Honeywell VisionPro 8000 thermostat. The device can automatically check for updates via Wi-Fi, ensuring you have the latest features and security patches. To update, navigate to the settings menu, select “System” or “About,” and choose “Update.” Ensure the thermostat remains powered on during the update process. If an update fails, restart the device and retry. For manual updates, download the latest firmware from Honeywell’s official website and follow the installation guide. Keeping the software up-to-date enhances functionality, improves compatibility, and addresses potential bugs. Refer to the manual for detailed instructions.

The Honeywell VisionPro 8000 thermostat offers advanced features, energy efficiency, and ease of use. Proper installation and maintenance ensure optimal performance. Refer to the manual or Honeywell’s support for further assistance.
8.1 Final Checks and Verification
After installation, perform a thorough system check to ensure the Honeywell VisionPro 8000 thermostat functions correctly. Power on the thermostat and test all modes, including heating, cooling, and fan operations. Verify the touchscreen responsiveness and display accuracy. Check for proper Wi-Fi connectivity if applicable. Review the programmed schedules and settings to confirm they align with your preferences. Ensure all wiring connections are secure and meet the manual’s specifications. Test the thermostat’s ability to maintain the set temperature and adjust as needed. Refer to the installation manual for additional verification steps or troubleshooting guidance. Contact Honeywell support if any issues persist.
8.2 Resources for Further Assistance
For additional support with the Honeywell VisionPro 8000 thermostat, visit the official Honeywell website, which offers comprehensive resources, including the installation manual (69-1706) and user guides. The VisionPro 8000 series manual is also available for download, providing detailed instructions and troubleshooting tips. Contact Honeywell Customer Care at 1-800-468-1502 for residential inquiries or refer to their online portal for FAQs and tutorials. Authorized Honeywell dealers can provide professional assistance, and online forums often feature user discussions and solutions. Ensure to register your product for warranty and updates. For connectivity issues, consult the Wi-Fi setup guide or reset the thermostat as outlined in the manual.